Installations of Atlantic 10’x12′
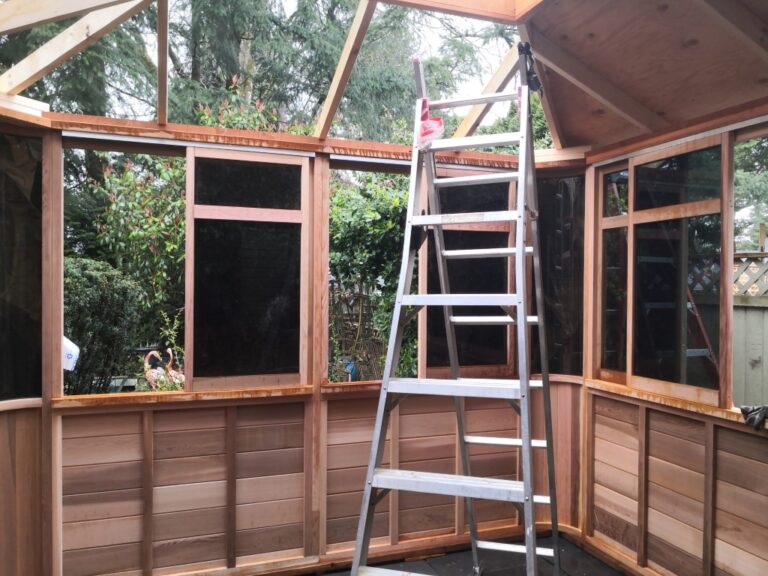
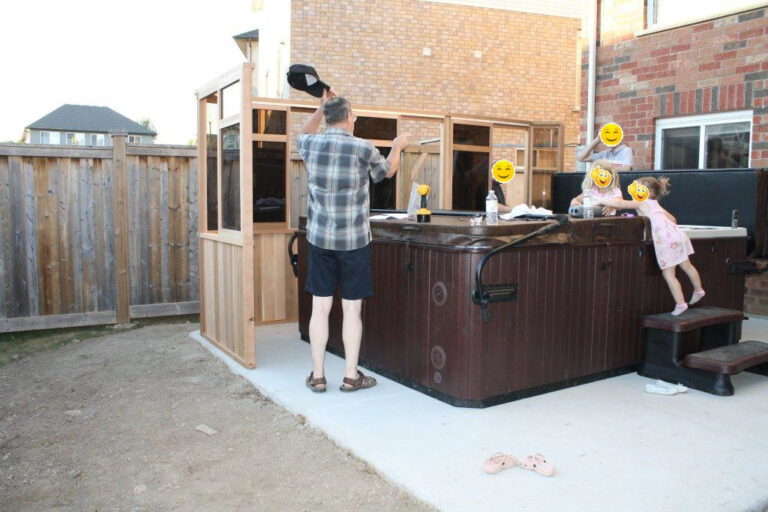
In a raining Spring season, we assembled our new Atlantic 10’x12′ Hot tub gazebo. Hover your mouse over the images to see descriptions. Click the

In a raining Spring season, we assembled our new Atlantic 10’x12′ Hot tub gazebo. Hover your mouse over the images to see descriptions. Click the
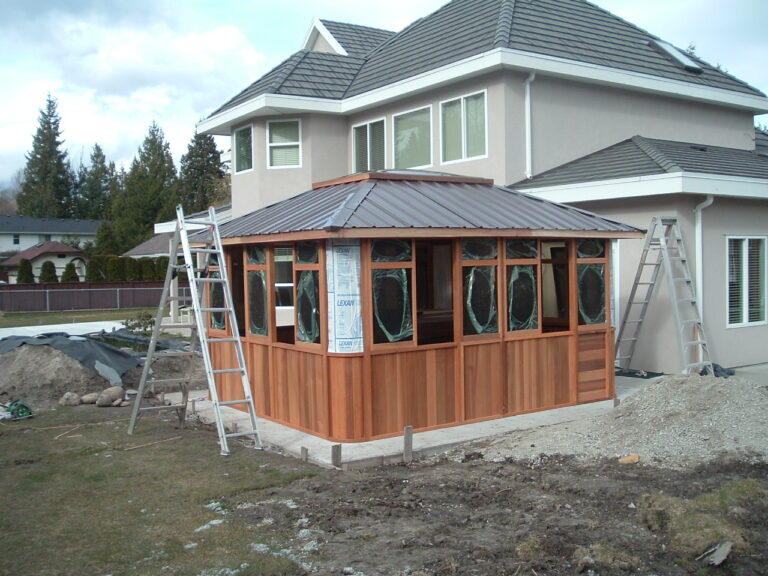
Well here is the completed Pacfic 12×12 Gazebo. I beefed up the roof system for the snow loads here showing the bracket ties to the
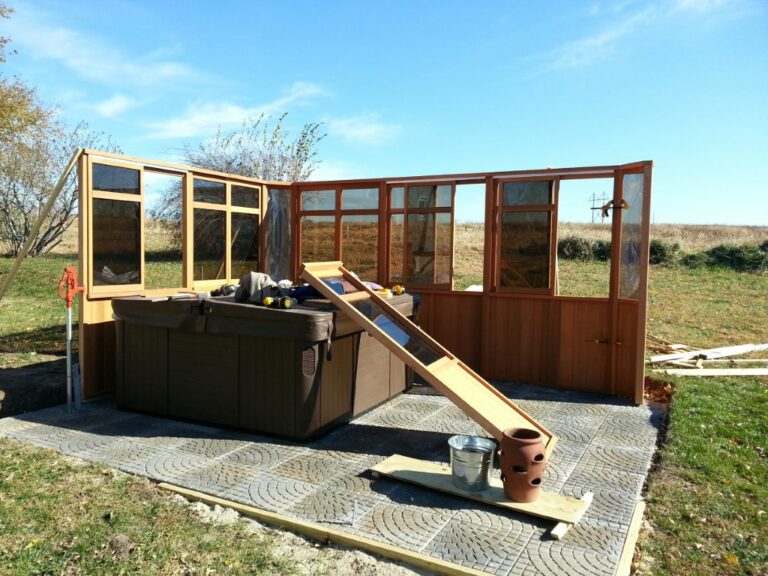
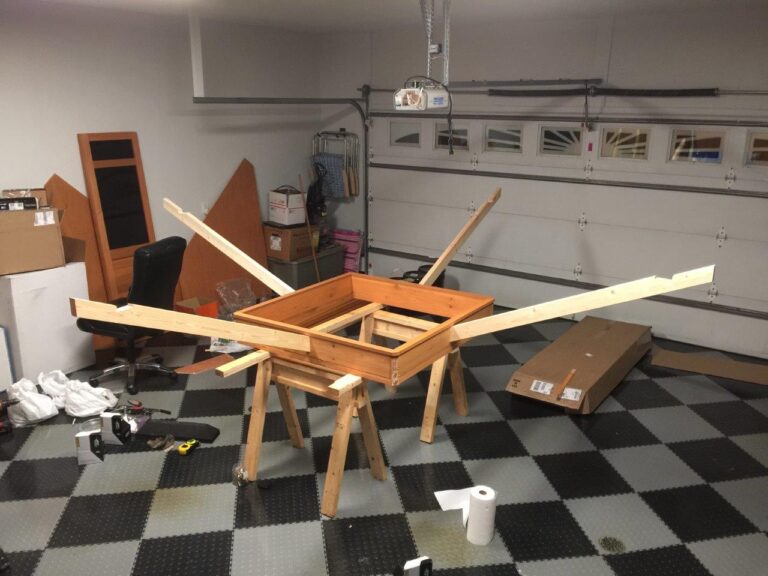
The building went together easily and we are enjoying it as a hot tub enclosure/ greenhouse/ bird watching blind. I put it together by myself

Glenn Let me know if you can view our recent build! Very impressed with the materials and instructions. Took 2 days to build but everthing
Just wanted to send some pictures of my new 12X14 pacific gazebo. I have completed some of the landscaping and will send more pictures when
Hi Glen, This is a little overdue but attached are the pics of the new gazebo. Thank-you so much for your service throughout this whole